


Painting a wooden box is a rewarding DIY project that can transform a simple piece of wood into a unique and personalized item. Whether you're looking to upcycle an old wooden box or create a brand - new one from scratch, the process of painting it adds character and protection. As a wooden box supplier, I've seen the many benefits and creative possibilities that come with painting wooden boxes. In this blog post, I'll guide you through the steps of painting a wooden box, from preparation to the final touches.
Step 1: Gather Your Materials
Before you start painting, you'll need to gather the necessary materials. Here's a list of what you'll typically need:
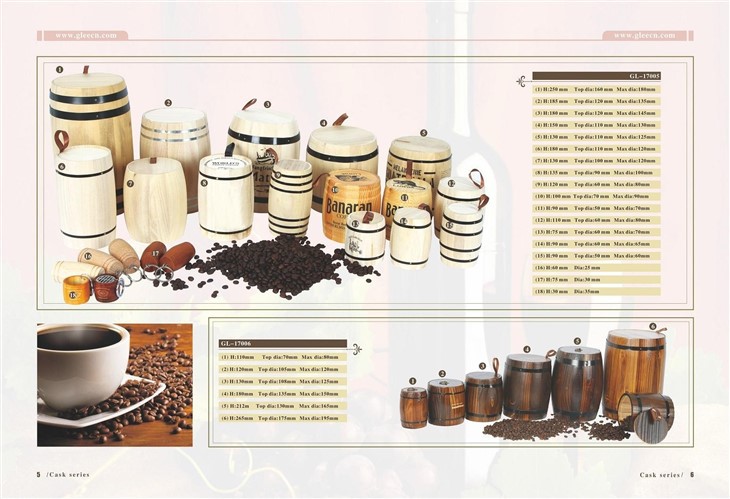
- Wooden Box: Of course, you'll need a wooden box. As a supplier, I offer a variety of wooden boxes, such as Round Pouf Leather Ottoman, Wooden Coffee Beans Packaging Barrels, and Bread Box.
- Sandpaper: Different grits of sandpaper, usually starting from a coarser grit (around 80 - 100) to a finer grit (220 - 320). This is used to smooth the surface of the wood.
- Paint: You can choose from a variety of paints, such as acrylic, oil - based, or enamel. Acrylic paints are popular because they dry quickly, are easy to clean up with water, and come in a wide range of colors.
- Primer: A good primer helps the paint adhere better to the wood and provides a more even finish.
- Paintbrushes: Different sizes of paintbrushes, including a small detail brush for edges and a larger brush for covering larger areas.
- Drop Cloth or Newspaper: To protect your work surface from paint spills.
- Masking Tape: Useful for masking off areas you don't want to paint, like edges or hardware.
- Stir Stick: To stir the paint thoroughly before use.
Step 2: Prepare the Wooden Box
The key to a great paint job is proper preparation. Start by cleaning the wooden box to remove any dust, dirt, or grease. You can use a damp cloth or a mild wood cleaner. Once the box is clean, let it dry completely.
Next, sand the surface of the box. Use the coarser grit sandpaper first to rough up the surface slightly, which helps the primer and paint adhere better. Sand in the direction of the wood grain to avoid scratches. After using the coarser grit, switch to a finer grit sandpaper to smooth out the surface. Wipe away any dust created by sanding with a clean, dry cloth.
If your wooden box has any hardware, such as hinges or handles, remove them before painting. You can use masking tape to cover areas that you don't want to paint, like the insides of the box if you prefer them to remain unpainted.
Step 3: Apply the Primer
Before applying the paint, it's important to apply a primer. Stir the primer thoroughly using a stir stick. Pour a small amount of primer into a paint tray.
Dip your paintbrush into the primer and start applying it to the wooden box. Work in long, even strokes, following the direction of the wood grain. Apply a thin, even coat of primer, making sure to cover the entire surface of the box.
Let the primer dry according to the manufacturer's instructions. This usually takes a few hours, but it can vary depending on the type of primer and the environmental conditions. In general, it's a good idea to wait at least 24 hours before applying the paint to ensure that the primer is fully cured.
Step 4: Choose and Apply the Paint
Now it's time to choose your paint color. Consider the purpose of the wooden box and the overall aesthetic you're going for. You can choose a solid color, or you can get creative with patterns or designs.
Stir the paint thoroughly before use. Pour some paint into a paint tray. Dip your paintbrush into the paint and start applying it to the primed surface. Just like with the primer, work in long, even strokes in the direction of the wood grain.
Apply a thin, even coat of paint. It's better to apply multiple thin coats rather than one thick coat, as thick coats can drip, run, or take longer to dry. Let the first coat of paint dry completely. This usually takes a few hours, but again, refer to the manufacturer's instructions.

After the first coat is dry, you can apply additional coats of paint if needed. Most projects require 2 - 3 coats of paint to achieve a smooth, even finish. Make sure to let each coat dry completely before applying the next one.
Step 5: Add Details and Finishing Touches
Once the paint is dry, you can add some details or finishing touches. If you want to add a design, you can use stencils, masking tape, or free - hand painting. For example, you can add a floral pattern, geometric shapes, or a personalized message.
If you removed the hardware earlier, now is the time to re - attach it. Make sure it's securely fastened.
To protect the paint job and give the wooden box a more professional look, you can apply a clear topcoat. A clear topcoat adds a layer of protection against scratches, moisture, and wear. Stir the topcoat thoroughly and apply it in the same way as the paint, using long, even strokes. Let the topcoat dry completely according to the manufacturer's instructions.
Step 6: Maintenance and Care
After painting your wooden box, it's important to take proper care of it to ensure that the paint job lasts. Avoid exposing the box to excessive moisture, as this can cause the paint to peel or bubble. If the box gets dirty, you can clean it with a soft, damp cloth.
If you notice any chips or scratches in the paint over time, you can touch them up using the same paint color. Sand the area lightly, apply a small amount of paint, and let it dry.
Why Painting Wooden Boxes is Beneficial
Painting wooden boxes offers several benefits. Firstly, it enhances the appearance of the box. You can transform a plain, ordinary wooden box into a beautiful, eye - catching piece that matches your decor or personal style.
Secondly, painting provides protection for the wood. It helps to seal the wood, preventing it from drying out, cracking, or being damaged by moisture or insects.
Finally, painting wooden boxes is a great way to express your creativity. You can experiment with different colors, patterns, and techniques to create a truly unique item.
Conclusion
Painting a wooden box is a fun and rewarding project that can result in a beautiful and useful item. By following these steps, you can achieve a professional - looking paint job. As a wooden box supplier, I'm here to provide you with high - quality wooden boxes for your painting projects. Whether you're a DIY enthusiast or a professional crafter, our wooden boxes offer a great base for your creativity.
If you're interested in purchasing wooden boxes for your painting projects or have any questions about our products, please feel free to contact us for procurement discussions. We look forward to working with you to bring your creative ideas to life.
References
- "The Complete Guide to Wood Finishing" by Robert W. Lang
- "Woodworking for Beginners" by John M. Kelsey
- Manufacturer's instructions for primers, paints, and other materials used in the painting process.